Wood-plastic composite decking is a relatively environmentally friendly material that combines the characteristics of wood and plastic and is a new environmentally friendly material that can replace the traditional wood deck. With the advancement of technology, the application of composite decking is becoming more and more widespread. Let’s learn about how to install composite decking boards.
How to install composite deck boards
Before you start the installation, make sure your outdoor deck board design complies with local building regulations and permit requirements.
The composite decking material is easy to install and can save a lot of installation time and costs.
Before installing composite decking
1. It is important to keep your composite decking dry, smooth, and clean before you start installing composite deck boards so that subsequent installation can proceed smoothly.
2. The tools required for installation are: tape measure, angle ruler, level, ink pen, hammer, rubber mallet, impact drill, and various drill bits.
Start installation
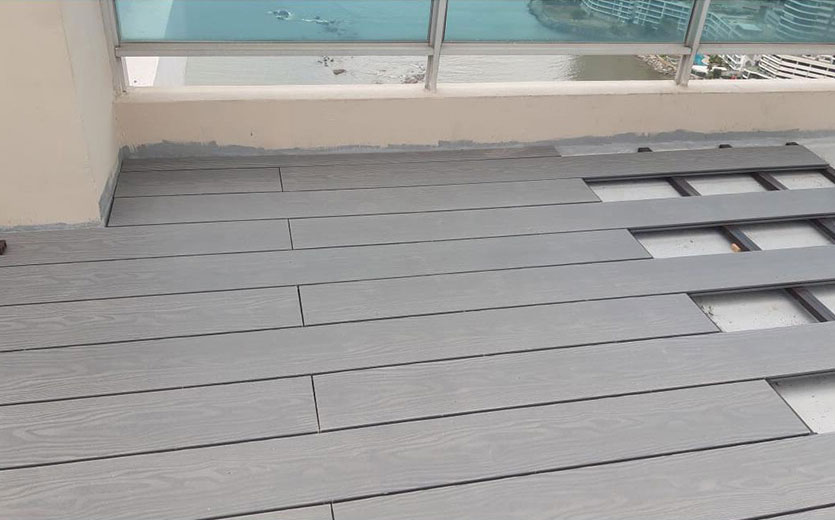
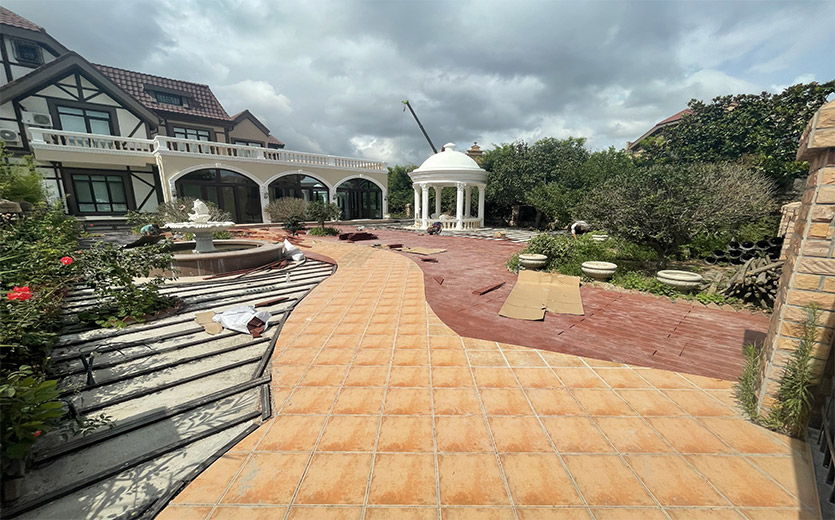
1. Fixing the WPC keel: arrange the WPC keel evenly on the concrete deck boards. We recommend a distance of about 350mm between keels. Use an electric drill to guide holes in the keel, then screw the keel into the drilled holes and fix the keel to the concrete deck boards. The nail heads should be screwed into the keel and not exposed, otherwise, it will cause an uneven deck board layout.
2. When installing the WPC keel, the floor needs to be leveled. When the deck board is found to be uneven, it is only necessary to make the floor level to a certain standard. The pre-treatment of the floor is very important. This is because the floor is laid with the same specification as the keel. If the floor is not level, the deck boards will be uneven when the WPC wood decking is laid.
3. If the thickness of the concrete is not less than 8mm, then we can fix the WPC keel directly to the concrete deck boards with expansion screws.
After the keel has been laid, there will be a gap between the bottom of some keels and the floor. In this case, cardboard or wood chips need to be put into it.
4. Fixing of the WPC keel
The WPC keel is fixed directly to the floor with expansion screws. The distance between the fixing points of the plastic expansion screws is 500mm~600mm and the nuts are required to be lower than the surface of the WPC keel. After the WPC keel is fixed, it needs to be leveled as a whole.
Installation method of composite decking
Note: Please do pre-drilling before assembling the deck joists, otherwise the product will be easily damaged.
1. WPC products will expand slightly after heating. When assembling WPC products, please leave a space of 3-5mm with the building.
2. When two joists meet, please leave a space of about 10mm between them.
3. After assembling the first floor, insert the stainless steel clips into the floor slots and tap the floor with a rubber mallet to ensure an even space. Then fix the clips with a Phillips screwdriver and complete the installation of all the floors one by one.
Complete the installation of the flooring and then check some of the pre-set slots. If necessary, trim the slots with a portable cutter to ensure they are flat. Once the inspection is complete, please wash the surface of the WPC flooring with water and if there are any stains, use common household detergents to clean them. For waste generated during the construction process, it should be separated and the remaining WPC pieces can be recycled and then submitted to the factory for recycling, thank you for doing this to protect the environment.


Post a Comment